Description
Breakout rooms allow you to split your Zoom meeting in up to 50 separate sessions. The meeting host can choose to split the participants of the meeting into these separate sessions automatically or manually, and can switch between sessions at any time.
Environment
These steps are intended for the Zoom platform.
How To

Creating Breakout Rooms
- Start an instant or scheduled meeting.
- Click breakout rooms.

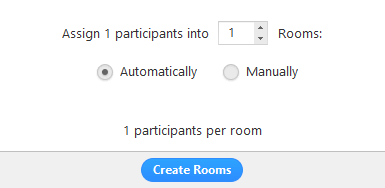
- Select the number of rooms you would like to create, and how you would like to assign your participants to those rooms:
- Automatically: Let Zoom split your participants up evenly into each of the rooms.
- Manually: Choose which participants you would like in each room.
- Click Create breakout rooms.
- Your rooms will be created, but will not start automatically.
Managing breakout rooms in progress
Once the breakout rooms have been started, participants will be asked to join the Breakout Session. The host will stay in the main meeting until joining a session manually. If a participant has not joined the session yet, it will be noted by (not joined) next to their name.
- Join: Join the breakout room.
- Leave: Leave the room and return to the main meeting (only shows when in a breakout room).
- Close All Rooms: Stops all rooms after a 60 second countdown, shown to the host and participants, and returns all participants back to the main meeting.
Options for Breakout Rooms
- After creating the breakout rooms, click Options to view additional breakout rooms options.

- Check any options that you would like to use for your breakout rooms.
- Move all participants into breakout rooms automatically: Checking this option will move all participants into the breakout rooms automatically. If this option is unchecked, the participants will need to click Join to be added to the breakout room.
- Allow participants to return to the main session at any time: If this option is checked, the participants can move back to the main session from their meeting controls. If this is disabled, they need to wait for the host to end the breakout rooms.
- Breakout rooms close automatically after x minutes: If this option is checked, the breakout rooms will automatically end after the configured time.
- Notify me when the time is up: If this option is checked, the host will be notified when the breakout room time is up.
- Countdown after closing breakout rooms: If this option is checked, the participants will be given a countdown of how much time they have left before being returned to the main room.
- Follow the steps below to assign participants to rooms or click Open All Rooms to start the breakout rooms.
Pre-assigning participants to breakout rooms using the web portal
- Sign in to the Zoom web portal.
- Click Meetings and schedule a meeting.
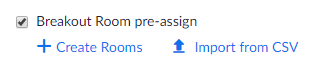
- In the Meeting Options section, select Breakout Room pre-assign and click Create Rooms.
- Click the plus icon beside Rooms to add breakout rooms.
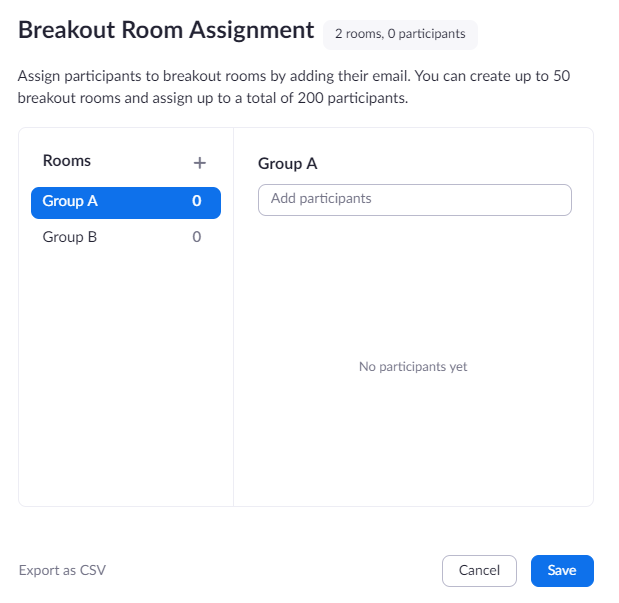
- Hover over the default breakout room name and click the pencil icon to rename it.

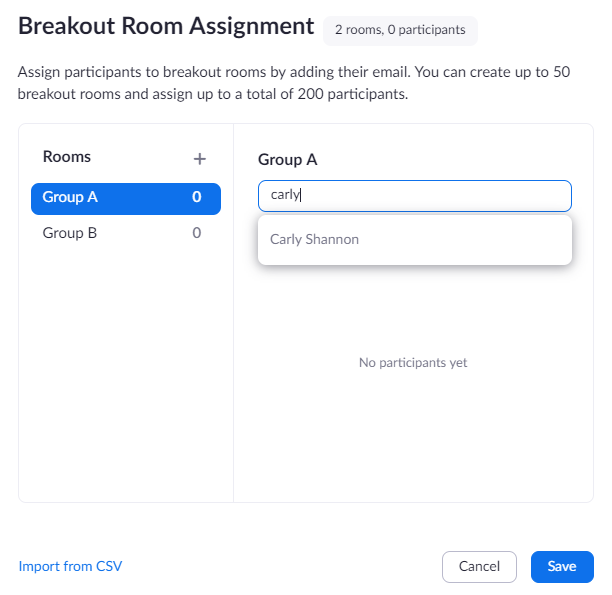
- In the Add participants text box, search for participants' name or email address to add them to the breakout room.
Note: You can add internal Zoom users that are in the same account. To pre-assign participants that are external Zoom users, import a CSV file.
- (Optional) Use these options to edit your breakout rooms and participants:
- Click and drag a participant's email address to change the order.
- Hover over a participant's name to see options to move them to another room or remove them from the current room.
- To delete a breakout room, hover the room name in the left panel and click the trash bin icon.
- Click Save.
Pre-assigning participants to breakouts rooms using a CSV file
- Sign in to the Zoom web portal.
- Click Meetings and schedule a meeting.
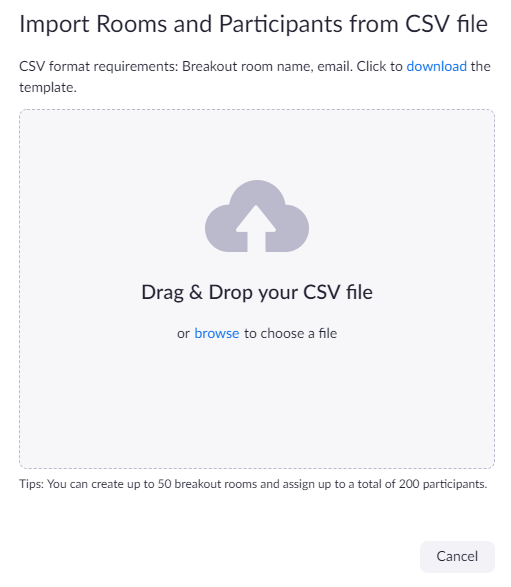
- In the Meeting Options section, select Breakout Room pre-assign and click Import from CSV.
- Click download to download a sample CSV file you can fill out.
- Open the CSV file with spreadsheet software like Microsoft Excel.
Note: You can specify internal or external Zoom users.
- Fill in the Pre-assign Room Name column with the breakout room name (DO NOT use a space in the room name), and the Email Address column with the assigned participant's email address.
- Save the file.
- Drag and drop the file in the web portal.
Zoom will verify that the email address has a Zoom account.
Note that the written content above has been curated and adapted from Zoom.us support pages.